TextField
Apple Developer Documentation
developer.apple.com
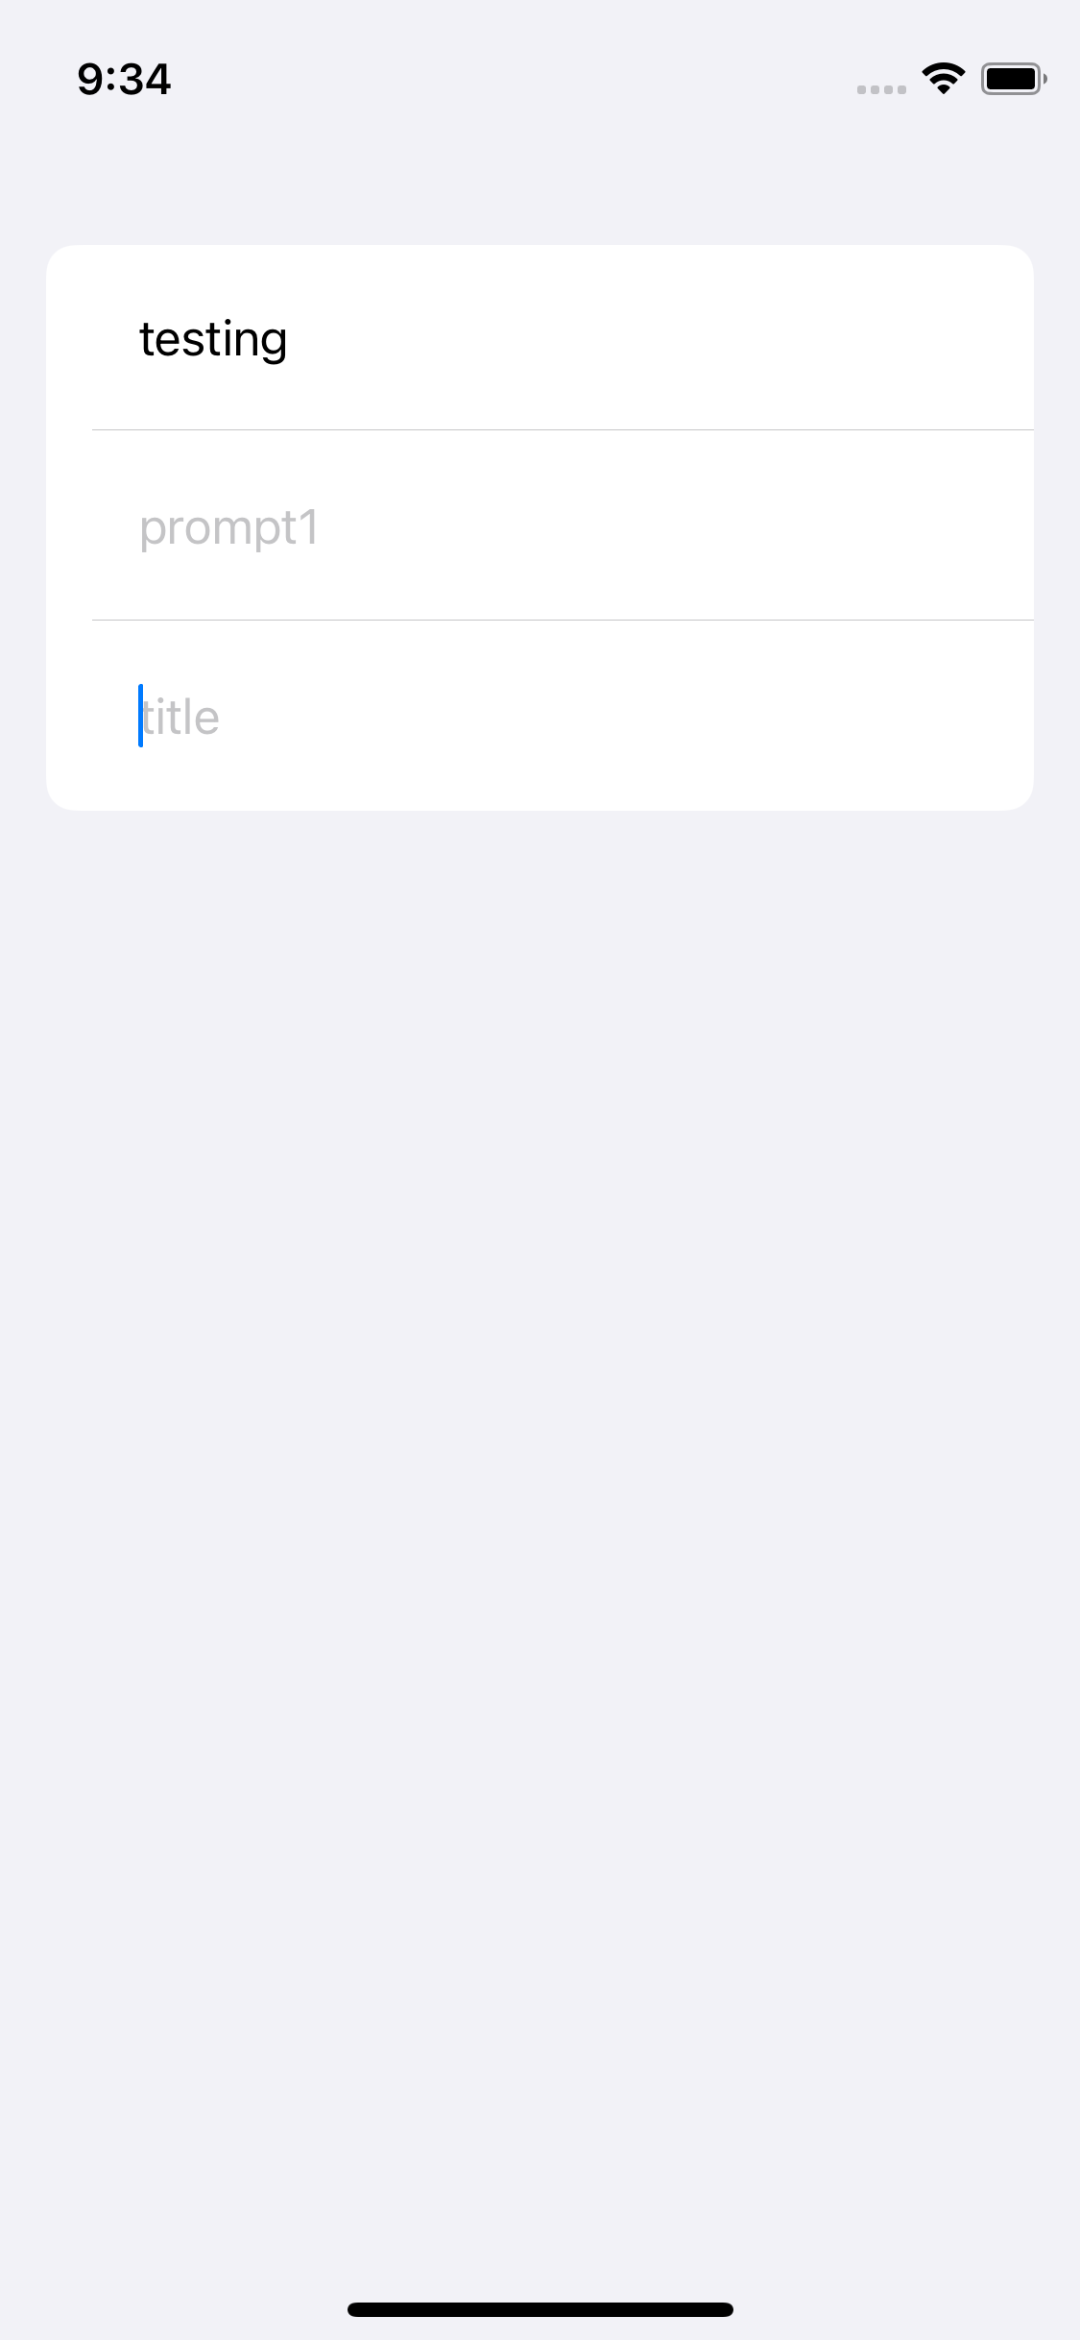
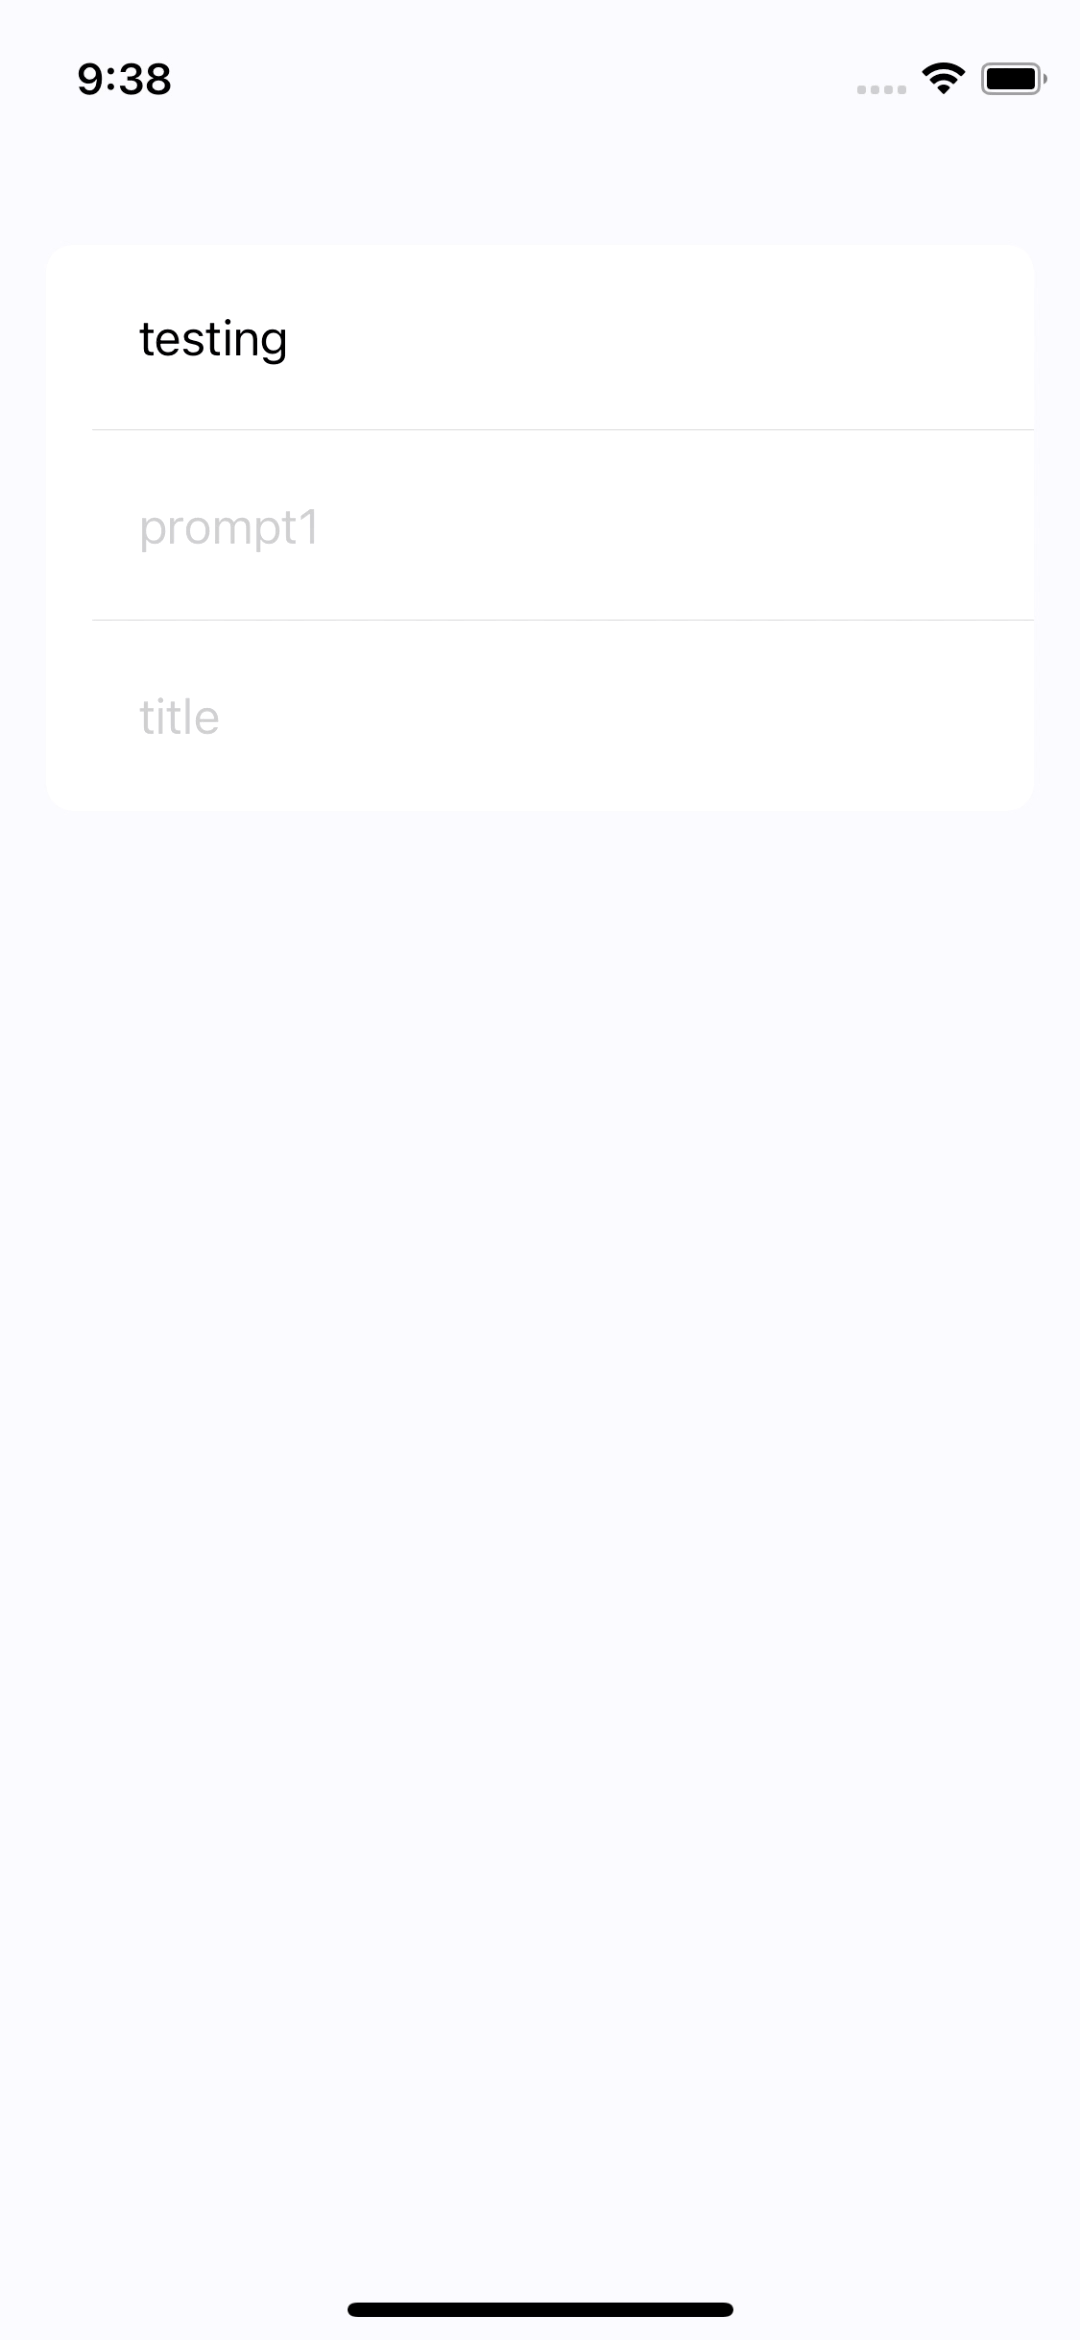
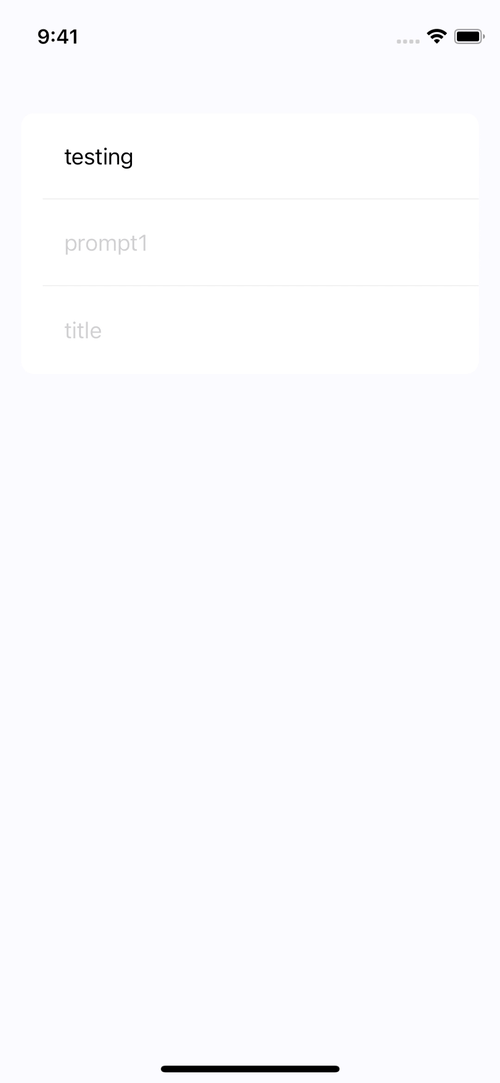
TextField는 한 줄 입력에 최적화된 View이다.
struct LabelView: View {
    @State private var value = ""
    var body: some View {
        Form {
            Text("testing")
                .padding()
            TextField("title", text: $value, prompt: Text("prompt1"))
                .padding()
            TextField("title", text: $value)
                .padding()
        }
    }
}
생성자의 기본 파라미터는 세 개로 아래와 같다.
- title
iOS와 iPadOS에서 placeholder로 사용된다.
macOS에서 Label로 사용된다. - value
입력받은 값을 저장할 변수
State Variable를 전달한다. - prompt
macOS에서 placeholder로 사용된다.
iOS에서는 title보다 우선적으로 placeholder로 사용된다.

자동 대문자 끄기
struct LabelView: View {
    @State private var value = ""
    @State private var value2 = ""
    var body: some View {
        Form {
            Text("testing")
                .padding()
            TextField("title", text: $value, prompt: Text("prompt1"))
                .padding()
                .textInputAutocapitalization(.never)
            TextField("title", text: $value2)
                .padding()
        }
    }
}
개인정보 마스킹
struct LabelView: View {
    @State private var value = ""
    @State private var value2 = ""
    var body: some View {
        Form {
            Text("testing")
                .padding()
            SecureField("title", text: $value, prompt: Text("prompt1"))
                .padding()
                .textInputAutocapitalization(.never)
            TextField("title", text: $value2)
                .padding()
        }
    }
}
키보드 숨기기
struct LabelView: View {
@State private var value = ""
@State private var value2 = ""
var body: some View {
Form {
Text("testing")
.padding()
SecureField("title", text: $value, prompt: Text("prompt1"))
.padding()
.textInputAutocapitalization(.never)
TextField("title", text: $value2)
.padding()
}
Button {
hideKeyboard()
} label: {
Text("Done")
.foregroundColor(.white)
}
.padding()
.background(.blue)
.cornerRadius(15)
}
}
#if canImport(UIKit)
extension View {
func hideKeyboard() {
UIApplication.shared.sendAction(#selector(UIResponder.resignFirstResponder), to: nil, from: nil, for: nil)
}
}
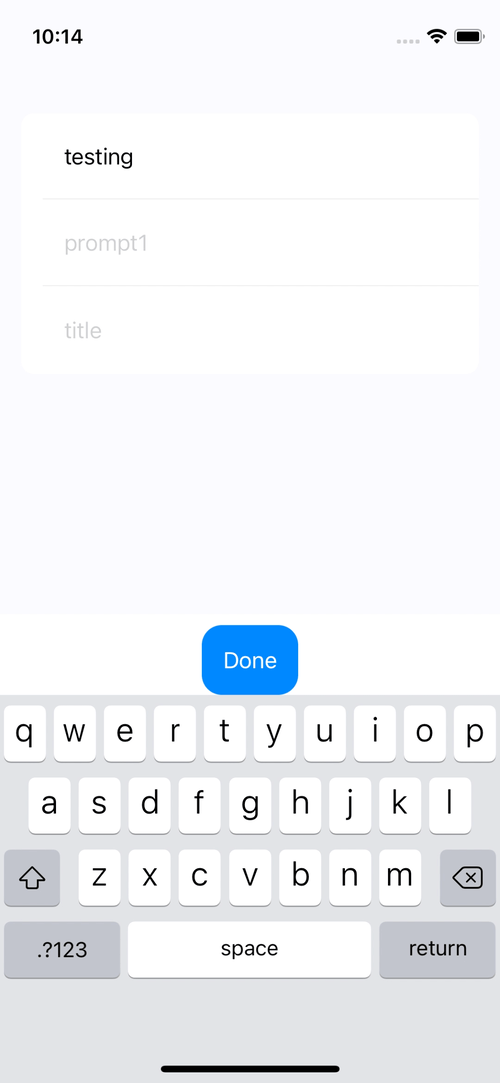
#endifTextField는 자동으로 키보드를 띄우는 점은 편리하지만 이를 다시 집어넣기가 조금 번거롭다.
return 키가 존재하는 키보드들은 return키 자체가 키보드를 숨기는 trigger로 동작하지만
Decimal 등의 return기가 없는 키보드들은 방법이 없다.
위 코드의 핵심은 이 코드다
#if canImport(UIKit)
extension View {
    func hideKeyboard() {
        UIApplication.shared.sendAction(#selector(UIResponder.resignFirstResponder), to: nil, from: nil, for: nil)
    }
}
#endif
UIKit에서 사용하는 키보드의 responder 해제 메서드를 불러오는 것으로,
새로 메서드를 생성해 이를 호출하면 된다.
포커스 이동
struct LabelView: View {
    enum Field {
        case field1
        case field2
    }

    @State private var value = ""
    @State private var value2 = ""
    @FocusState private var focuseField: Field?

    var body: some View {
        Form {
            Text("testing")
                .padding()
            SecureField("title", text: $value, prompt: Text("prompt1"))
                .padding()
                .textInputAutocapitalization(.never)
                .focused($focuseField, equals: .field1)

            TextField("title", text: $value2)
                .padding()
                .focused($focuseField, equals: .field2)
        }
        .onSubmit {
            switch focuseField {
            case .field1:
                focuseField = .field2
            case .field2:
                focuseField = .field1
            default:
                return
            }
        }

        Button {
            hideKeyboard()
        } label: {
            Text("Done")
                .foregroundColor(.white)
        }
        .padding()
        .background(.blue)
        .cornerRadius(15)
    }
}
포커스 이동을 위해 FocusState Variable을 사용한다.
해당 Vaiable은 미리 생성된 textField 목록인 Field enum을 사용한다.
TextFiled View들은 각각 focused(_:equals:) 메서들을 사용해 enum의 값들을 바인딩한다.
Apple Developer Documentation
developer.apple.com
이후 onSubmit 메서드에서 케이스 별로 분기하도록 만들면 된다.
Apple Developer Documentation
developer.apple.com

FirstResponder로 지정하기
struct LabelView: View {
    enum Field {
        case field1
        case field2
    }

    @State private var value = ""
    @State private var value2 = ""
    @FocusState private var focuseField: Field?

    var body: some View {
        Form {
            Text("testing")
                .padding()
            SecureField("title", text: $value, prompt: Text("prompt1"))
                .padding()
                .textInputAutocapitalization(.never)
                .focused($focuseField, equals: .field1)
                .onAppear {
                    DispatchQueue.main.asyncAfter(deadline: .now() + 0.3) {
                        focuseField = .field1
                    }
                }

            TextField("title", text: $value2)
                .padding()
                .focused($focuseField, equals: .field2)
        }
        .onSubmit {
            switch focuseField {
            case .field1:
                focuseField = .field2
            case .field2:
                focuseField = .field1
            default:
                return
            }
        }

        Button {
            hideKeyboard()
        } label: {
            Text("Done")
                .foregroundColor(.white)
        }
        .padding()
        .background(.blue)
        .cornerRadius(15)
    }
}
아이러니하게도 간단한 방식으로 구현하지는 못한다.
지연을 추가하고 FocusState를 변경해 주는 원시적인 방식으로 해결한다.
Text Field Style
struct LabelView: View {
    @State private var value = ""
    @State private var value2 = ""

    var body: some View {
        Form {
            Text("Form")
            TextField("Field_01", text: $value, prompt: Text("Field_01"))
        }

        GeometryReader { geometry in
            VStack {
                Section {
                    TextField("Field_02", text: $value2, prompt: Text("Field_02"))
                } header: {
                    Text("Stack")
                }
            }
            .frame(minHeight: (geometry.size.height) / 2)
        }
    }
}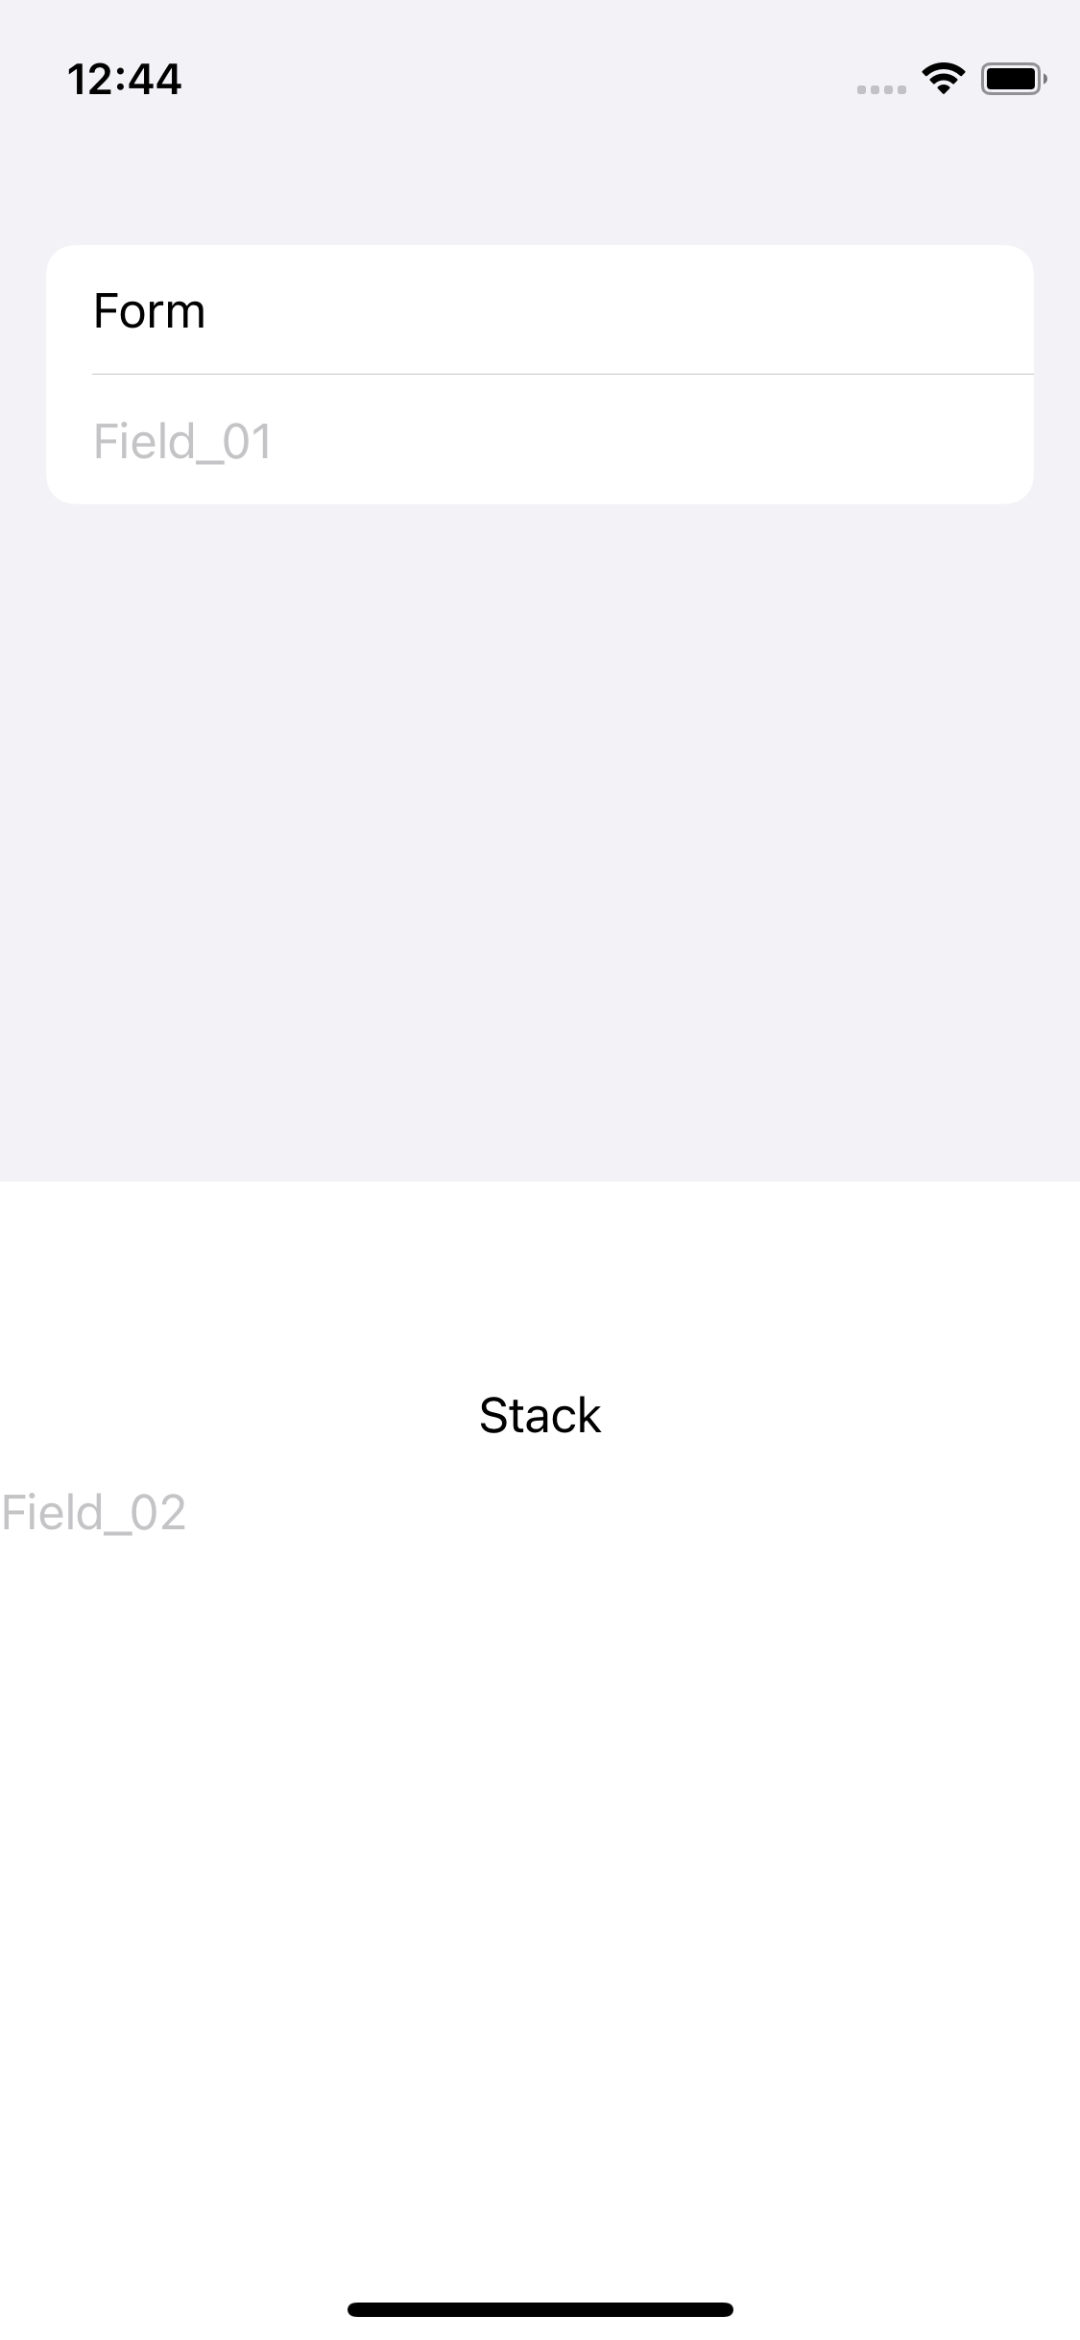
Text Field는 Form에 Embed 되지 않는 이상 가장 기본적인 형태를 가진다.
위의 그림에서 보이는 특징은 다음과 같다.
- 화면의 너비 전체를 채운다.
- 최소 높이를 가진다.
- 여백이 존재하지 않는다.
- 테두리가 없다.
기본 상태로는 시인성이 떨어지기 때문에 Form이 아닌 곳에서 사용하기 위해서는 간단하게 적용해 주면 좋은 부분들이 있다.
.textFieldStyle
Apple Developer Documentation
developer.apple.com
파라미터로 네 가지 스타일을 선택할 수 있다.
- automatic
context에 적합한 디자인으로 자동 설정한다. - plain
완전한 순정 상태 - roundedBorder
모서리가 둥근 테두리 - squareBorder
모서리가 각진 테두리
struct LabelView: View {
    @State private var value = ""
    @State private var value2 = ""

    var body: some View {
        Form {
            Text("Form")
            TextField("Field_01", text: $value, prompt: Text("Field_01"))
        }

        GeometryReader { geometry in
            VStack {
                Section {
                    TextField("Field_02", text: $value2, prompt: Text("Field_02"))
                        .textFieldStyle(.roundedBorder)
                } header: {
                    Text("Stack")
                }
            }
            .frame(minHeight: (geometry.size.height) / 2)
        }
    }
}
TextField 주위로 옅은 테두리가 생긴 걸 볼 수 있다.
.padding
Apple Developer Documentation
developer.apple.com
생성자 파라미터는 아래와 같다.
- edges
적용할 테두리를 지정한다.
기본 값은 'all'이고 'leading', 'trailing', 'top', 'bottom'을 사용할 수 있다. - length
적용할 간격을 지정한다.
기본 값은 'nil'이고, point 단위로 전달하면 된다.
struct LabelView: View {
    @State private var value = ""
    @State private var value2 = ""

    var body: some View {
        Form {
            Text("Form")
            TextField("Field_01", text: $value, prompt: Text("Field_01"))
        }

        GeometryReader { geometry in
            VStack {
                Section {
                    TextField("Field_02", text: $value2, prompt: Text("Field_02"))
                        .textFieldStyle(.roundedBorder)
                        .padding()
                } header: {
                    Text("Stack")
                }
            }
            .frame(minHeight: (geometry.size.height) / 2)
        }
    }
}
TextField 사방에 기본 값의 여백이 적용된 것을 볼 수 있다.
.textContentType
Apple Developer Documentation
developer.apple.com
자동 입력 지원을 위해 TextField에 입력될 값의 타입을 지정할 수 있다.
파라미터에 전달할 수 있는 속성은 다음과 같다.
UITextContentType
Apple Developer Documentation
developer.apple.com
struct LabelView: View {
    @State private var value = ""
    @State private var value2 = ""

    var body: some View {
        Form {
            Text("Form")
            TextField("Field_01", text: $value, prompt: Text("Field_01"))
        }

        GeometryReader { geometry in
            VStack {
                Section {
                    TextField("Field_02", text: $value2, prompt: Text("Field_02"))
                        .textFieldStyle(.roundedBorder)
                        .padding()
                        .textContentType(.password)
                } header: {
                    Text("Stack")
                }
            }
            .frame(minHeight: (geometry.size.height) / 2)
        }
    }
}
.keyboardType
Apple Developer Documentation
developer.apple.com
TextField에 입력할 때 사용할 키보드의 타입을 변경할 수 있다.
struct LabelView: View {
    @State private var value = ""
    @State private var value2 = ""

    var body: some View {
        Form {
            Text("Form")
            TextField("Field_01", text: $value, prompt: Text("Field_01"))
        }

        GeometryReader { geometry in
            VStack {
                Section {
                    TextField("Field_02", text: $value2, prompt: Text("Field_02"))
                        .textFieldStyle(.roundedBorder)
                        .padding()
                        .textContentType(.telephoneNumber)
                        .keyboardType(.decimalPad)
                } header: {
                    Text("Stack")
                }
            }
            .frame(minHeight: (geometry.size.height) / 2)
        }
    }
}
현재 필드는 textContentType이 'telephoneNumber'로 돼있기 때문에,
풀사이즈의 쿼티 키보드는 부적합하다고 볼 수 있다.
keyboardType을 DecimalPad로 바꿔 적합한 키보드를 사용할 수 있다.
TextEditor
SwiftUI 초기에는 존재하지 않았으므로 하위 호환성에 주의해야 한다.
struct TextEditorView: View {
    @State private var testing = """
 California has introduced a new bill that restricts the use of rap lyrics as evidence in court.

 It follows the recent indictments of US rappers Young Thug and Gunna, whose lyrics have been directly quoted at them in an ongoing legal trial.

 Young Thug has been accused of co-founding a gang as well as possessing stolen weapons and drugs - and in the indictment, lyrics from nine of his songs were mentioned.

 One of them included: "I done did the robbin', I done did the jackin', now I'm full rappin.'"

 According to Variety, one veteran music lawyer described this as "unprecedented racism".

 Both rappers have been denied bond and will remain in jail until a trial begins in January 2023. They have denied the allegations against them.

 The Decriminalising Artistic Expression Act aims to protect an artist's First Amendment rights, which guarantees freedom of speech.
"""

    var body: some View {
        TextEditor(text: $testing)
    }
}
기본 크기가 화면 전체를 채우도록 되어있으므로
struct TextEditorView: View {
    @State private var testing = """
 California has introduced a new bill that restricts the use of rap lyrics as evidence in court.

 It follows the recent indictments of US rappers Young Thug and Gunna, whose lyrics have been directly quoted at them in an ongoing legal trial.

 Young Thug has been accused of co-founding a gang as well as possessing stolen weapons and drugs - and in the indictment, lyrics from nine of his songs were mentioned.

 One of them included: "I done did the robbin', I done did the jackin', now I'm full rappin.'"

 According to Variety, one veteran music lawyer described this as "unprecedented racism".

 Both rappers have been denied bond and will remain in jail until a trial begins in January 2023. They have denied the allegations against them.

 The Decriminalising Artistic Expression Act aims to protect an artist's First Amendment rights, which guarantees freedom of speech.
"""

    var body: some View {
        TextEditor(text: $testing)
            .padding()
    }
}
항상 padding을 사용하거나 frame을 지정해 주는 것이 좋다.
무려 UIKit에서는 직접 처리해 줘야 했던 Keyboard에 대한 frame 변화도 자동으로 지원하기 때문에 편리하다.
TextField에 적용했던 대부분의 modifier가 동일하게 적용된다.
'학습 노트 > Swift UI (2022)' 카테고리의 다른 글
| 17. Toggle & Slider & ProgressView (0) | 2022.10.05 |
|---|---|
| 16. Button & Link & Menu (0) | 2022.10.02 |
| 13. Label & Font (0) | 2022.09.28 |
| 12. Text (0) | 2022.09.28 |
| 10 ~ 11. Sheet / FullScreenCover & Popover (0) | 2022.09.26 |


