Notification Content Extension
Notification Content Extension은 Custoom Notification을 구현할 때 사용한다.
Notification이 도착하면 화면상에 Banner가 표시되고,
이를 Pull down 하면 Full Notification Interface가 표시된다.
Full Notification Interface는 두 가지 부분으로 구성되어있다.
- Header
앱 아이콘과 이름이 표시된다. - 기본 인터페이스
iOS 13 : Attachment, Title, Body의 순서대로 표시된다.
iOS 15 : Title, Body, Attachment의 순서로 표시된다.
Notification Content Extension으로 UI를 구현하면 Attachment 부분에 표시된다.
UI를 구현하는 방식은 특별하지 않다.
Storyboard와 Auto Layout을 통해 앱의 UI를 구현하는 것과 동일한 방식이다.
단, 약간의 제약이 존재한다.
- Sotyboard에는 하나의 Scene만 추가할 수 있다.
- Scene의 높이는 원하는 값으로 지정할 수 있지만, 너비는 Notification Banner의 너비로 고정된다.
- Touch 이벤트를 처리할 수 없다.
따라서 Image View나 Label 처럼 데이터를 출력하는 Control을 조합해 구현한다.
Notification Content Extension은 Local Notification과 Push Notification에 모두 적용할 수 있다.
Notification Service Extension과 마찬가지로 표시되기 직전에 실행된다.
iOS는 Payload에서 Category를 확인하고 동일한 Category를 가진 Notification Content Extension을 실행한다.
동일한 Category를 가진 Extension이 없다면 기본 UI로 표시한다.
Extension이 표시되는 기준이 Category이기 때문에 올바른 Category를 설정하는 것이 중요하다.
만약 두 개 이상의 Extension을 사용하는 경우 Category가 중복되지 않도록 주의해야 한다.
하나의 Extension에 여러 Category를 등록하는 경우에도 중복되지 않도록 주의해야 한다.

//
// NotificationContentExtensionViewController.swift
// Local Notification Practice
//
// Created by Martin.Q on 2021/11/26.
//
import UIKit
import UserNotifications
class NotificationContentExtensionViewController: UIViewController {
@IBAction func schedule(_ sender: Any) {
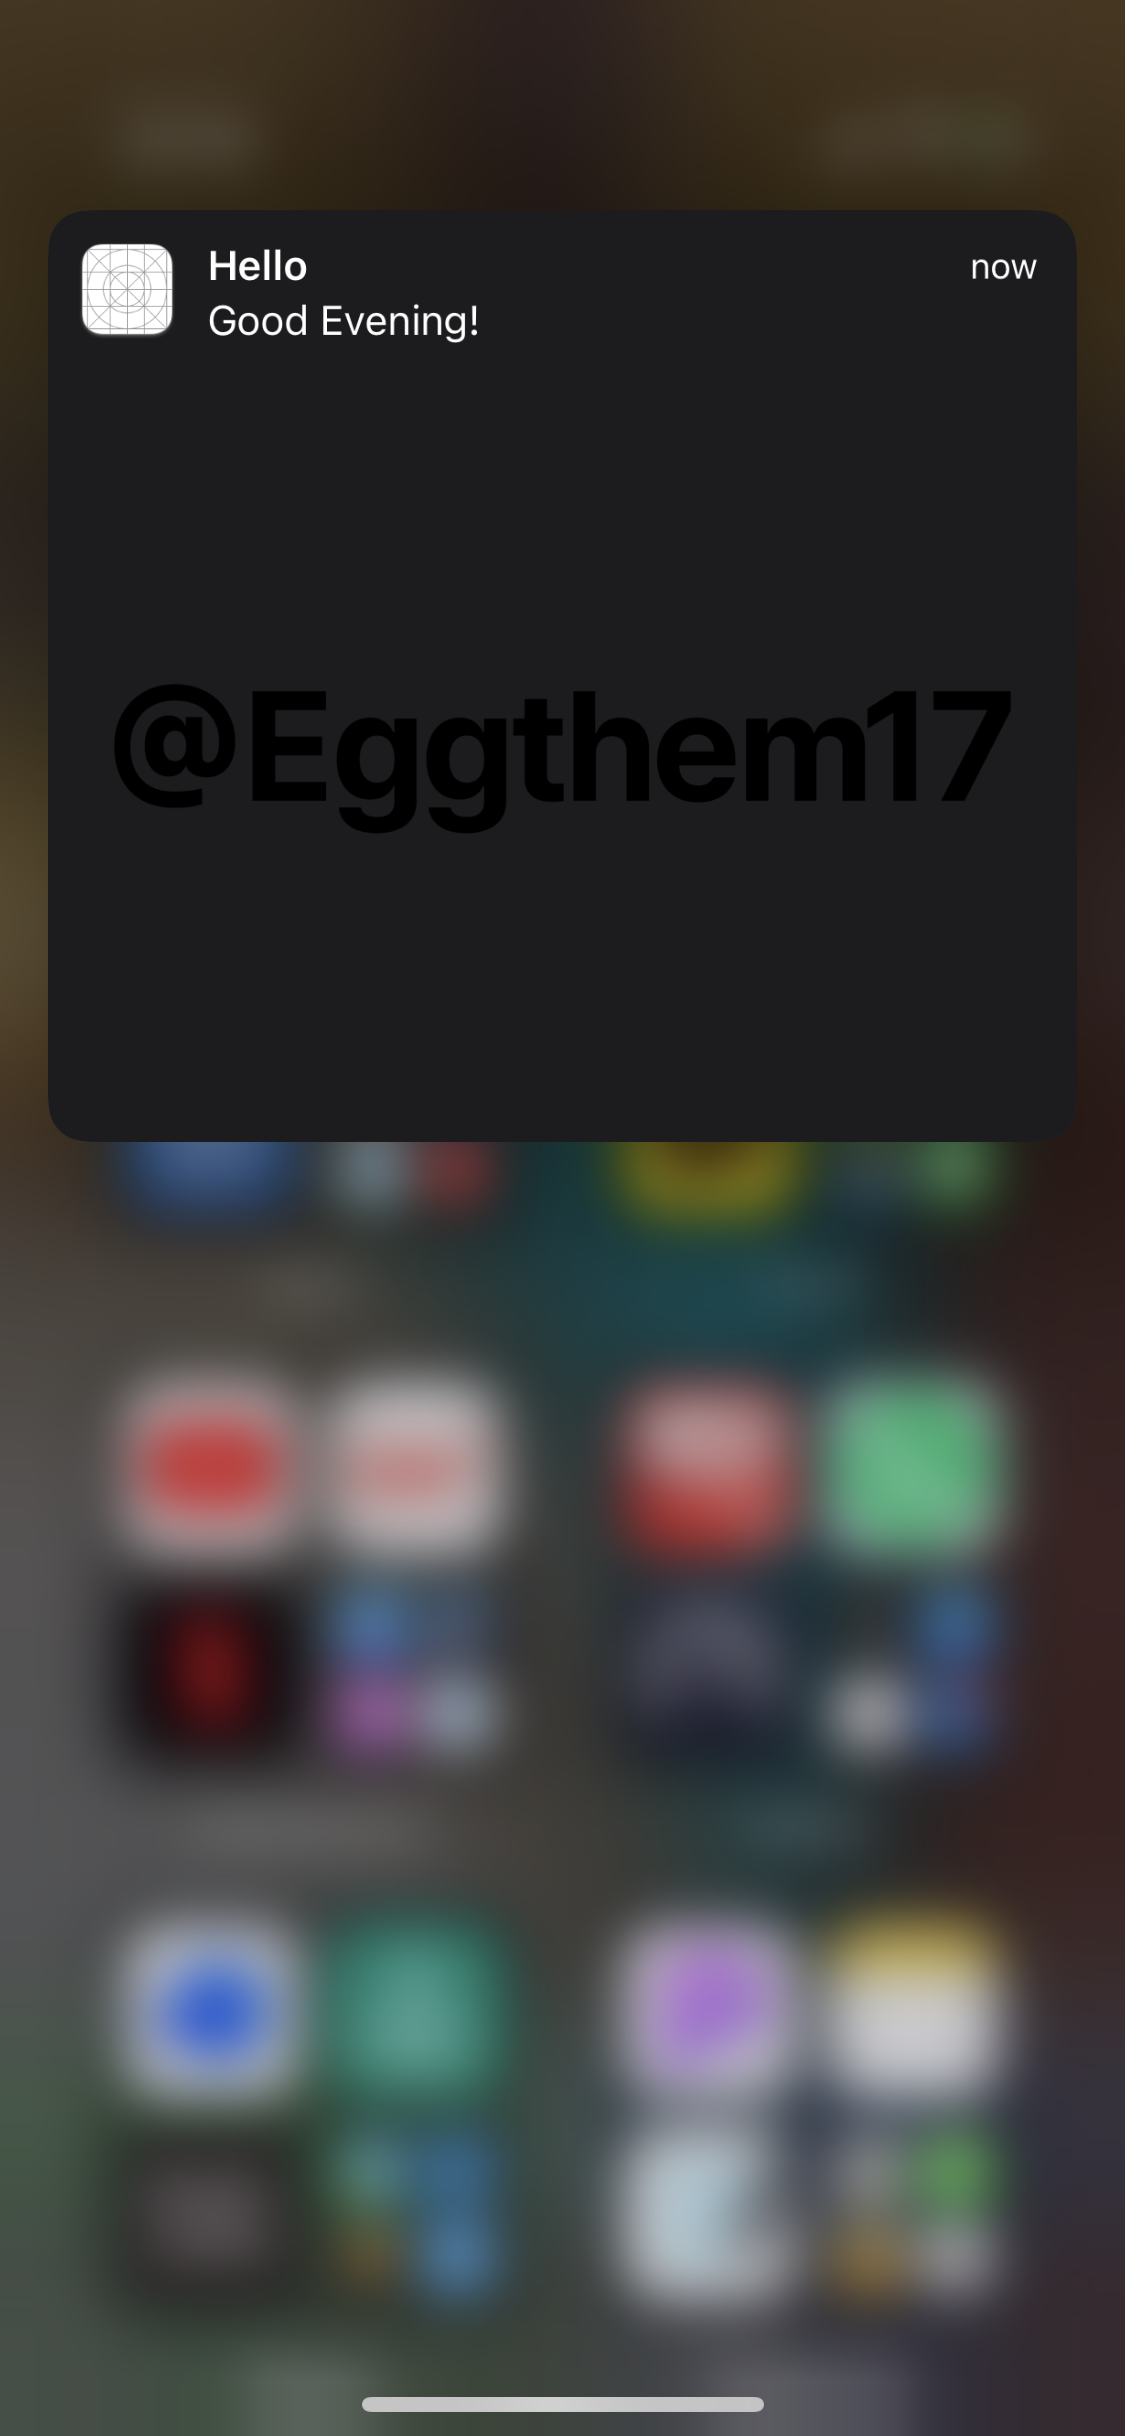
let content = UNMutableNotificationContent()
content.title = "Hello"
content.body = "Good Evening!"
content.sound = UNNotificationSound.default
guard let url = Bundle.main.url(forResource: "hello", withExtension: "png") else {
return
}
guard let imageAttachment = try? UNNotificationAttachment(identifier: "logo-image", url: url, options: nil) else {
return
}
content.attachments = [imageAttachment]
let trigger = UNTimeIntervalNotificationTrigger(timeInterval: 5, repeats: false)
let request = UNNotificationRequest(identifier: "Hello", content: content, trigger: trigger)
UNUserNotificationCenter.current().add(request, withCompletionHandler: nil)
}
override func viewDidLoad() {
super.viewDidLoad()
}
}사용할 Scene과 연결된 Class는 위와 같다.

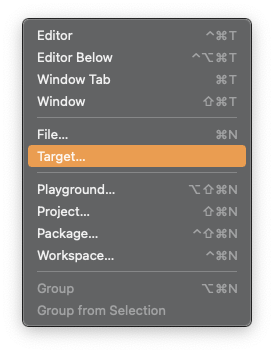
File > New > Target
을 선택하고

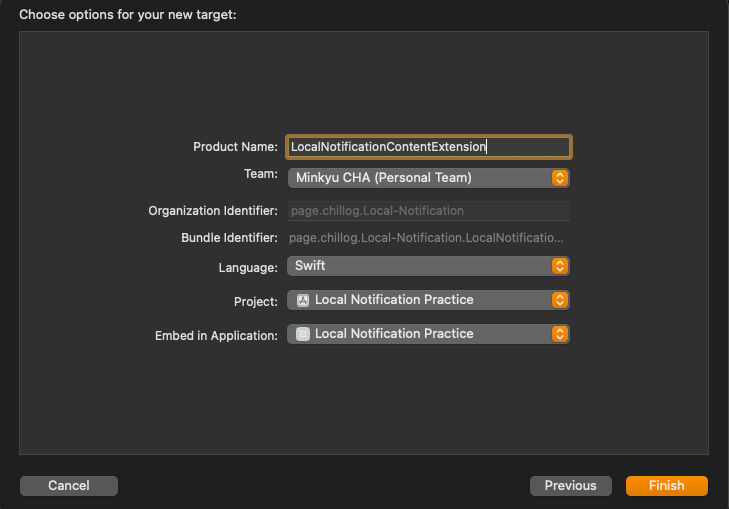
Notification Content Extension을 선택한 뒤 Product Name을 입력하고 Finish를 눌러 진행을 마친다.
App의 Deployment Target과 버전을 동일하게 맞추는 것도 잊으면 안 된다.

Document Library를 확인해 보면 세 개의 파일이 추가되어있다.
MainInterface.storyboard 파일에서 인터페이스를 구성할 수 있다.

//
//  NotificationViewController.swift
//  LocalNotificationContentExtension
//
//  Created by Martin.Q on 2021/11/26.
//

import UIKit
import UserNotifications
import UserNotificationsUI

class NotificationViewController: UIViewController, UNNotificationContentExtension {

    @IBOutlet var label: UILabel?

    override func viewDidLoad() {
        super.viewDidLoad()
        // Do any required interface initialization here.
    }

    func didReceive(_ notification: UNNotification) {
        self.label?.text = notification.request.content.body
    }

}
해당 Scene과 Scene에 연결된 Class는 위와 같다.
연결된 Class는 UNNotificationContentExtension 프로토콜을 채용하고 있다.
지금 상태에서 실행해 보면 여전히 이전과 같은 UI를 표시하고 있는 걸 확인할 수 있다.
이는 Local Notification을 예약할 때 Category를 지정하지 않았기 때문이다.
struct CategoryIdentifier {
	static let imagePosting = "CATEGORY_IMAGE_POSTING"
	static let customUI = "CATEGORY_CUSTOM_UI"
	private init() {}
}
Category를 추가하기 AppDelegate로 이동해 식별자를 추가한다.
func setupCategory() {
	let likeAction = UNNotificationAction(identifier: ActionIdentifier.like, title: "Like", options: [])
	let dislikeAction = UNNotificationAction(identifier: ActionIdentifier.dislike, title: "Dislike", options: [])
	let unfollowAction = UNNotificationAction(identifier: ActionIdentifier.unfollow, title: "Unfollow", options: [.authenticationRequired, .destructive])
	let settingAction = UNNotificationAction(identifier: ActionIdentifier.setting, title: "Setting", options: [.foreground])

	var options = UNNotificationCategoryOptions.customDismissAction
	options.insert(.hiddenPreviewsShowTitle)
	let imagePostingCategory = UNNotificationCategory(identifier: CategoryIdentifier.imagePosting, actions: [likeAction, dislikeAction, unfollowAction, settingAction], intentIdentifiers: [], options: options)

	let customUICategory = UNNotificationCategory(identifier: CategoryIdentifier.customUI, actions: [likeAction, dislikeAction], intentIdentifiers: [], options: [])

	UNUserNotificationCenter.current().setNotificationCategories([imagePostingCategory])
}
Action은 이전에 사용하던 like와 dislike를 그대로 사용한다.
이후 카테고리를 등록하기 전에 Content Extension을 지원하는지 확인하는 과정이 필요하다.
func setupCategory() {
	let likeAction = UNNotificationAction(identifier: ActionIdentifier.like, title: "Like", options: [])
	let dislikeAction = UNNotificationAction(identifier: ActionIdentifier.dislike, title: "Dislike", options: [])
	let unfollowAction = UNNotificationAction(identifier: ActionIdentifier.unfollow, title: "Unfollow", options: [.authenticationRequired, .destructive])
	let settingAction = UNNotificationAction(identifier: ActionIdentifier.setting, title: "Setting", options: [.foreground])

	var options = UNNotificationCategoryOptions.customDismissAction
	options.insert(.hiddenPreviewsShowTitle)
	let imagePostingCategory = UNNotificationCategory(identifier: CategoryIdentifier.imagePosting, actions: [likeAction, dislikeAction, unfollowAction, settingAction], intentIdentifiers: [], options: options)

	let customUICategory = UNNotificationCategory(identifier: CategoryIdentifier.customUI, actions: [likeAction, dislikeAction], intentIdentifiers: [], options: [])

	if UNUserNotificationCenter.current().supportsContentExtensions {
		UNUserNotificationCenter.current().setNotificationCategories([imagePostingCategory, customUICategory])
	} else {
		UNUserNotificationCenter.current().setNotificationCategories([imagePostingCategory])
	}
}
if문을 통해 supportsContentExtensions를 지원하는 경우에만 customUICategory를 적용한다.
//
//  NotificationContentExtensionViewController.swift
//  Local Notification Practice
//
//  Created by Martin.Q on 2021/11/26.
//

import UIKit
import UserNotifications

class NotificationContentExtensionViewController: UIViewController {

	@IBAction func schedule(_ sender: Any) {
		let content = UNMutableNotificationContent()
		content.title = "Hello"
		content.body = "Good Evening!"
		content.sound = UNNotificationSound.default
		content.categoryIdentifier = CategoryIdentifier.customUI

		guard let url = Bundle.main.url(forResource: "hello", withExtension: "png") else {
			return
		}

		guard let imageAttachment = try? UNNotificationAttachment(identifier: "logo-image", url: url, options: nil) else {
			return
		}

		content.attachments = [imageAttachment]

		let trigger = UNTimeIntervalNotificationTrigger(timeInterval: 5, repeats: false)
		let request = UNNotificationRequest(identifier: "Hello", content: content, trigger: trigger)

		UNUserNotificationCenter.current().add(request, withCompletionHandler: nil)
	}


    override func viewDidLoad() {
        super.viewDidLoad()
    }
}
이후 Notification을 예약하는 Scene으로 돌아와 Category를 포함해 예약하도록 categoryIdentifier를 추가한다.

Custom UI의 폴더에 존재하는 Info.plist에서
NSExtenssion > NSExtenssionAttributes > UNNotificationExtensionCategory
항목을 앞서 생성한 Category의 이름으로 변경해 준다.
만약 두 개 이상의 Category를 사용한다면 Key의 Type을 Array로 바꾸고 SubKey로 추가한다.

임시로 구현된 Custom UI가 표시된다.
지금부터는 본격적으로 Custom UI를 구성해 본다.
Extension에서는 새로운 Scene을 추가할 수 없고, Touch 이벤트를 처리할 수도 없다.
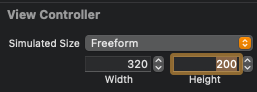

Size Inspector에서 높이를 200으로 수정한다.

Label을 삭제하고 Backgorund Color를 흰색으로 변경한다.
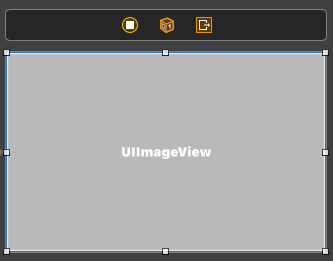
Image View를 추가하고 영역의 전체를 채우도록 수정한 뒤,
Image View의 Content Mode를 Aspect Fill로 변경한다.
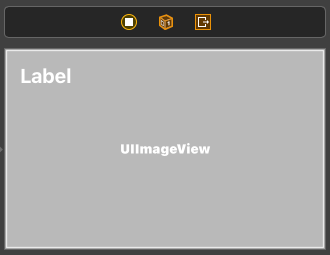
Label을 추가하고, 상단과 좌우 제약을 추가한다.
Font는 Bold, 20pt이다.
해당 Label에는 제목을 표시할 예정이다.

Label을 하나 더 추가하고, 사이즈와 폰트는 그대로 둔다.
마찬가지로 상단과 좌우에 제약을 추가한다.
Attribute Inspector에서 여러 줄을 출력할 수 있도록 Lines를 0으로 변경하고,
Line Break는 Word Wrap으로 변경한다.
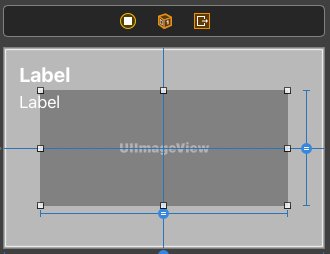

Label들의 시인성을 위해 Dimming을 추가한다.
UIView를 추가한 다음 Alpha를 조정한다.
이후 Image View와 크기를 맞추기 위해 오른쪽과 같이 제약을 추가한다.
//
//  NotificationViewController.swift
//  LocalNotificationContentExtension
//
//  Created by Martin.Q on 2021/11/26.
//

import UIKit
import UserNotifications
import UserNotificationsUI

class NotificationViewController: UIViewController, UNNotificationContentExtension {

	@IBOutlet weak var imageView: UIImageView!
	@IBOutlet weak var titleLable: UILabel!
	@IBOutlet weak var bodyLabel: UILabel!


    override func viewDidLoad() {
        super.viewDidLoad()
        // Do any required interface initialization here.
    }

    func didReceive(_ notification: UNNotification) {
		titleLable.text = notification.request.content.title
		bodyLabel.text = notification.request.content.body

		guard let imageAttachment = notification.request.content.attachments.first else {
			return
		}

		if imageAttachment.url.startAccessingSecurityScopedResource() {
			if let imageData = try? Data(contentsOf: imageAttachment.url) {
				imageView.image = UIImage(data: imageData)
			}

			imageAttachment.url.stopAccessingSecurityScopedResource()
		}
    }

}
해당 Class는 UNNotificationContentExtension 클래스를 채용하고 있다.
Class에 구현되어있는 didReceive 메서드는 해당 프로토콜의 필수 메서드이다.
Extension이 실행되면 메서드가 호출되고, 파라미터를 통해 Payload가 전달된다.
이후 Attachment가 존재하는지 확인해 존재한다면 첫 번째 Attachment를 바인딩한다.
Attachment에는 프로젝트에 추가되어있는 이미지의 URL을 저장되어있다.
Extension에서 해당 URL에 직접 접근할 수 없기 때문에 startAccessingSecurityScopedResource 메서드를 호출해야 한다.
해당 메서드가 true를 반환하는 경우에만 URL에 접근할 수 있다.
URL에 존재하는 데이터를 통해 이미지를 만들고 이를 Image View에 표시한다.
작업이 완료된 후에는 stopAccessingSecurityScopedResource 메서드를 호출해야 한다.
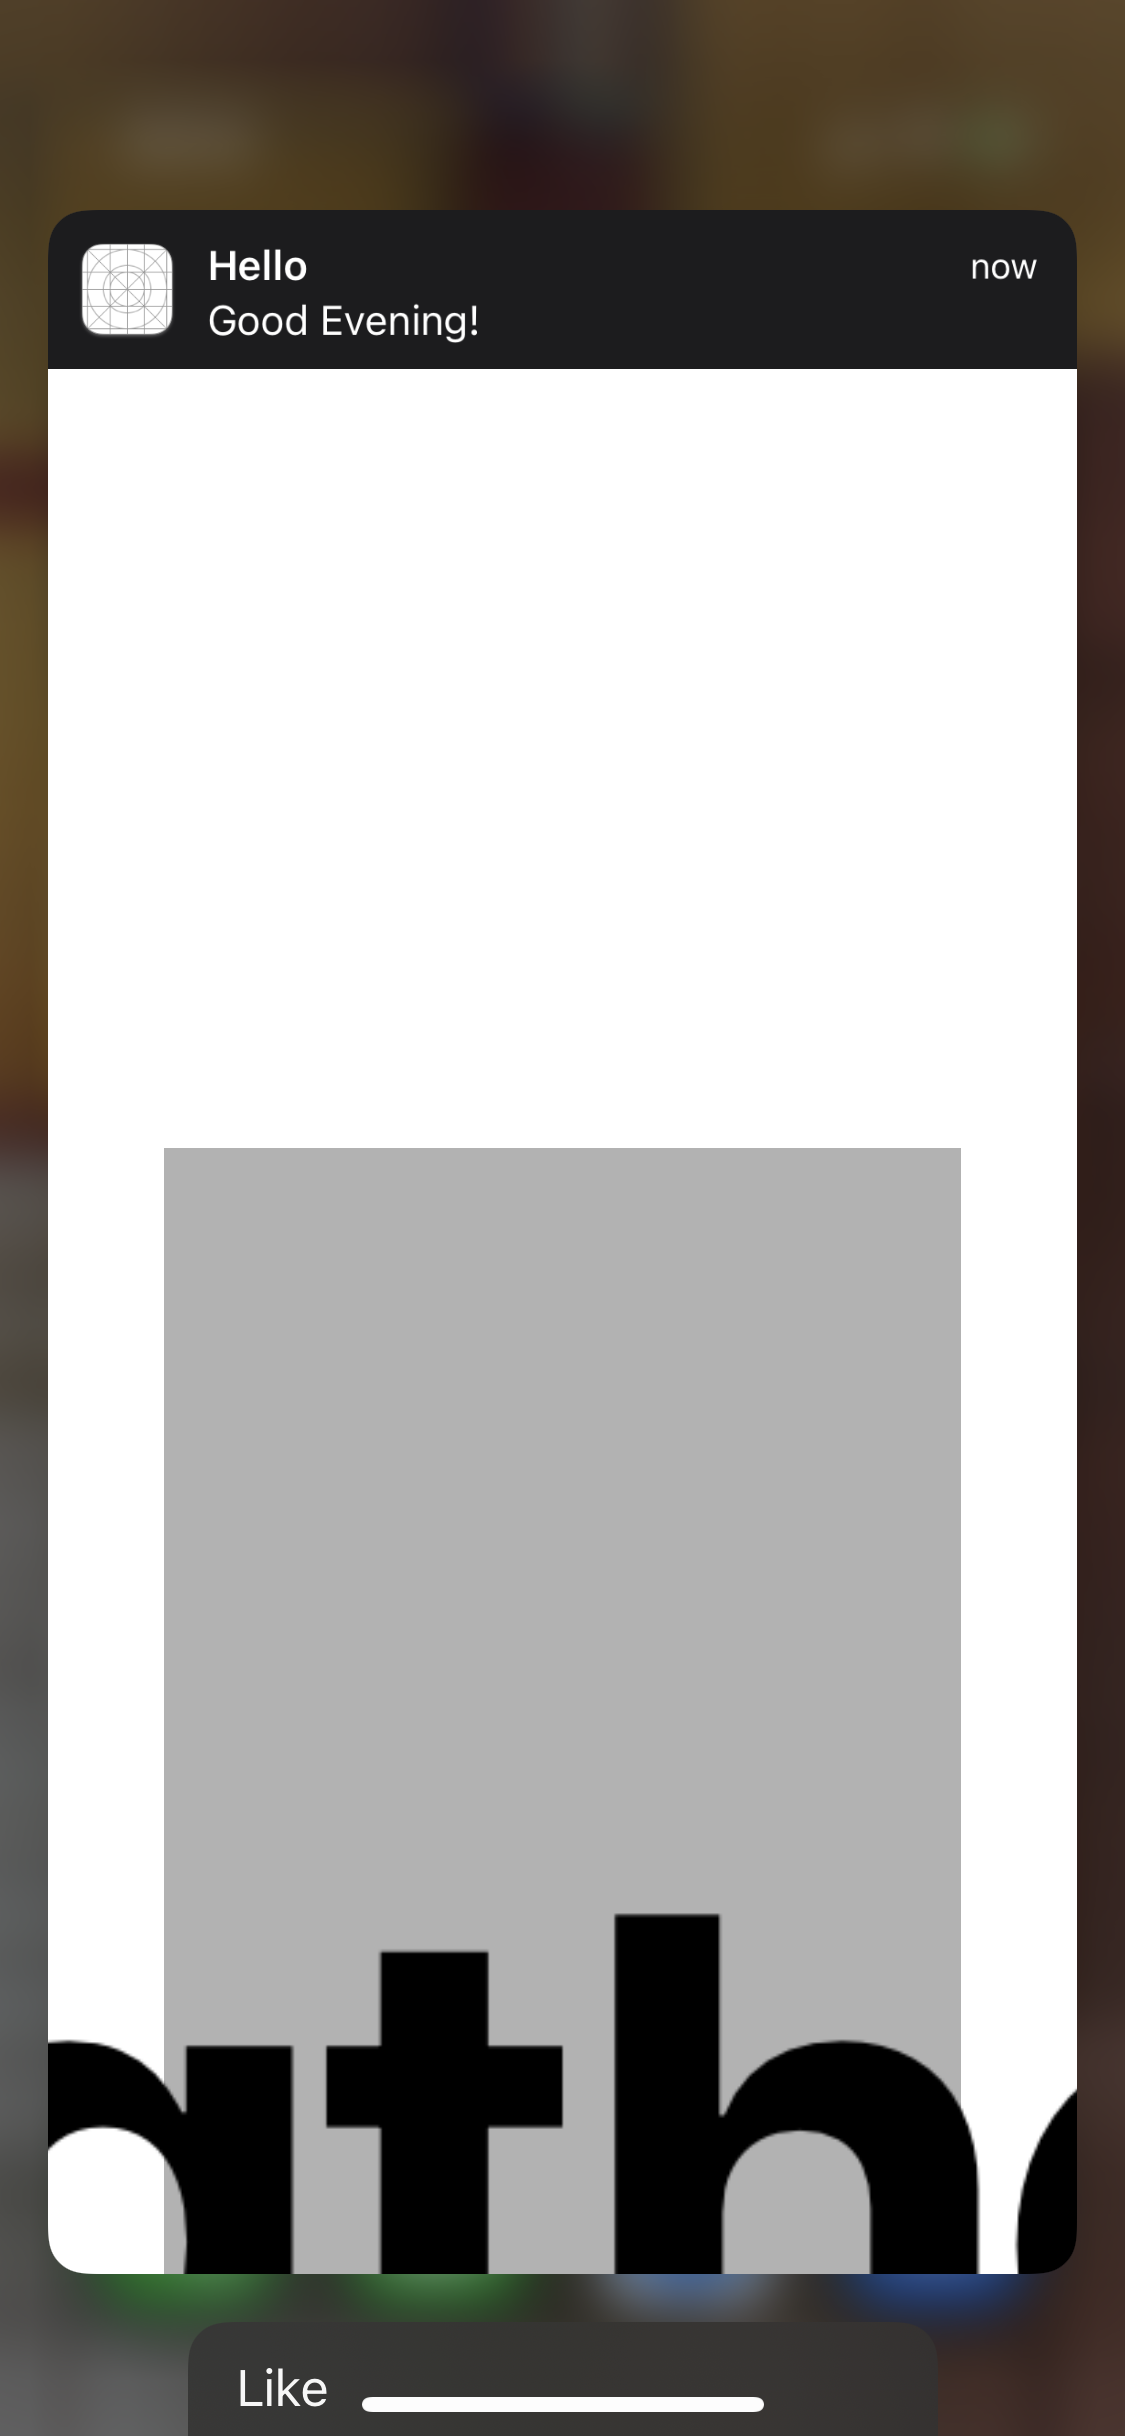
실행해 보면 분명히 정상이 아니다.
설정했던 높이를 벗어난 더 큰 크기로 표시되고 있다.
단순히 RootView의 높이를 고정했다고 해서 Banner에 표시되는 UI 높이가 고정되는 것은 아니다.
높이 제약을 직접 추가하거나 View Controller의 속성을 통해 원하는 크기를 지정해야 한다.
//
//  NotificationViewController.swift
//  LocalNotificationContentExtension
//
//  Created by Martin.Q on 2021/11/26.
//

import UIKit
import UserNotifications
import UserNotificationsUI

class NotificationViewController: UIViewController, UNNotificationContentExtension {

	@IBOutlet weak var imageView: UIImageView!
	@IBOutlet weak var titleLable: UILabel!
	@IBOutlet weak var bodyLabel: UILabel!


    override func viewDidLoad() {
        super.viewDidLoad()
		preferredContentSize = CGSize(width: view.bounds.width, height: 200)
    }

    func didReceive(_ notification: UNNotification) {
		titleLable.text = notification.request.content.title
		bodyLabel.text = notification.request.content.body

		guard let imageAttachment = notification.request.content.attachments.first else {
			return
		}

		if imageAttachment.url.startAccessingSecurityScopedResource() {
			if let imageData = try? Data(contentsOf: imageAttachment.url) {
				imageView.image = UIImage(data: imageData)
			}

			imageAttachment.url.stopAccessingSecurityScopedResource()
		}
    }

}
후자의 방법을 사용해 viewDidLoad 부분에 크기를 지정하는 방식으로 구현했다.


정상적으로 200의 높이를 가진 View가 표시되지만 처음 표시되는 사이즈가 200보다 커서 전환되는 과정이 자연스럽지 못하다.

Extension의 Info.plist 파일을 확인해 보면 UNNotificationExtensitonInitialContentSizeRatio가 1로 설정되어있다.
해당 Key는 Notification Banner의 너비를 기준으로 Custom UI의 높이를 설정한다.
iPhone 8 Plus 모델의 Banner 너비는 398pt이고, 지금처럼 1로 되어있으면 초기 높이도 398pt로 설정된다.
해당 값을 줄이면 현재 값의 절반이 되므로, 커졌다 작아지는 것보다 점점 커지는 것이 자연스럽다.

전환이 훨씬 자연스러워졌다.
지금처럼 Custom UI에 Title과 Body를 표시하고 있다면,
중복되는 데이터는 없애주는 것이 좋다.

Info.plist에서 NSExtensionAttributes에 UNNotificationExtensionDefaultContentHidden으로 Key를 추가하고,
값을 Yes로 변경한다.


그러면 사진처럼 중복되는 정보들이 사라진 상태로 Custom UI만 남게 된다.
해당 부분은 iOS의 버전마다 조금씩 다른데, iOS 13의 경우 오른쪽 사진처럼 Header는 남고 기본 정보만 사라지는 정도이다.
현재 상태에서 Action을 선택하면 AppDelegate에서 구현한 Delegate 메서드가 호출된다.
즉 Extension으로는 Action이 전달되지 않는다.
Extension에서 Action을 처리해야 한다면 별도의 메서드를 구현해야 한다.
func didReceive(_ response: UNNotificationResponse, completionHandler completion: @escaping (UNNotificationContentExtensionResponseOption) -> Void) {

}
didReceive(completionHandler:) 메서드를 Extension의 클래스에서 구현하게 되면,
모든 Action이 Extension으로 전달되게 된다.
따라서 Extension에서 모든 Action을 처리하거나 필요한 Action만 처리한 다음 App으로 다시 전달해야 한다.
실습에선 선택한 Action에 따라 Title 뒤에 이모티콘을 추가하도록 구현한다.
func didReceive(_ response: UNNotificationResponse, completionHandler completion: @escaping (UNNotificationContentExtensionResponseOption) -> Void) {
	let title = response.notification.request.content.title

	switch response.actionIdentifier {
	case "ACTION_LIKE":
		titleLable.text = "\(title) 👍"
	case "ACTION_DISLIKE":
		titleLable.text = "\(title) 👎"
	default:
		break
	}
}
먼저 전달된 Action에 따라 titleLabel에 이모티콘을 추가하는 코드를 작성한다.

메서드의 마지막 부분에는 두 번째 파라미터로 전달된 Closure를 호출해야 한다.
해당 Closure를 호출할 때 Action을 처리하는 방법을 파라미터로 전달해야 한다.
- dismiss
Action을 앱으로 전달하지 않고 Banner를 닫는다.
Extension에서 Action을 직접 처리할 때 사용한다. - dismissAndForwardAction
앱으로 Action을 전달하고 Banner를 닫는다. - doNotDismiss
Banner를 닫지 않고 Action만 실행한다.
Action에 따라 Custom UI를 동적으로 업데이트해야 할 때 사용하는 옵션이다.
func didReceive(_ response: UNNotificationResponse, completionHandler completion: @escaping (UNNotificationContentExtensionResponseOption) -> Void) {
	let title = response.notification.request.content.title

	switch response.actionIdentifier {
	case "ACTION_LIKE":
		titleLable.text = "\(title) 👍"
	case "ACTION_DISLIKE":
		titleLable.text = "\(title) 👎"
	default:
		break
	}

	completion(.doNotDismiss)
}
실습에선 doNorDismiss를 전달한다.

Action을 선택하면 Banner의 Title이 이에 맞게 변한다.
'학습 노트 > iOS (2021)' 카테고리의 다른 글
| 145 ~ 153. Gesture Recognizers (0) | 2021.11.30 |
|---|---|
| 143 ~ 144. Notification Settings and Notification Management (0) | 2021.11.28 |
| 140 ~ 141. JSON Payload & Silent Push Notification and Notification Service Extension (0) | 2021.11.26 |
| 138 ~ 139. Remote Notification & Push Certificates, Provider and Client App (0) | 2021.11.26 |
| 137. Actionable Notification (0) | 2021.11.25 |


